


GET BETTER LIGHTS IN YOUR VOLVO
WITH OUR LED KITS THAT ARE MODEL-ADAPTED FOR JUST YOUR VOLVO!
This is the guide for you who want to upgrade the lighting in the ceiling, luggage or floor with LED lights for your Volvo.
In this article, we start in the back room and then walk forward in the car step by step. With our model-adapted LED kits, you get everything you need to be able to upgrade your Volvo with LED lights.
Note that this guide is made on a Volvo V60 but it does not differ much from other models.
LED KITS FOR INTERIOR LIGHTS
Update the interior with our LED kits! The kits are model-adapted for your particular Volvo and give a much more modern feel and really awesome light.

HOW TO CHANGE INTERIOR LIGHTING ON YOUR VOLVO
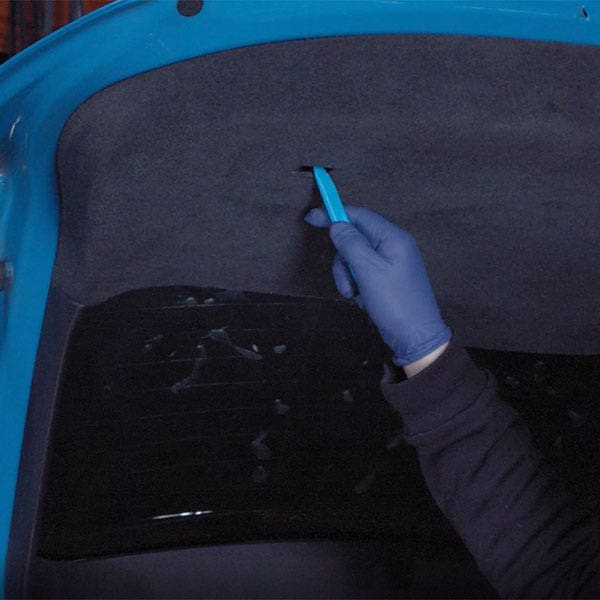
1. In the Luggage there are 2 lights on the Volvo V60 2014-2017
Start by poking off the glass that sits over the lamp on e.g. the boot lid, gently pry one short end of the glass, then push in the lamp holder to access the lamp connector, then pull it out to loosen the connector.
The second lamp is on the side of the luggage. Repeat the same process there, if the lamp falls inwards, you can loosen the fabric panel against the taillight to reach it from the inside. Loosen the lamp holder connector.
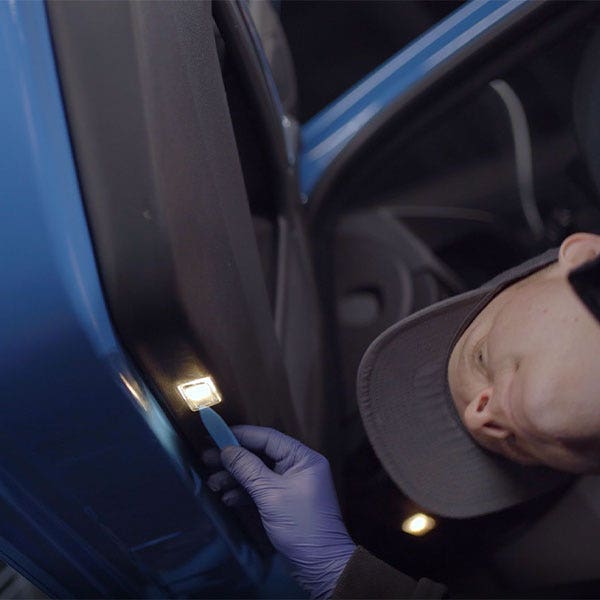
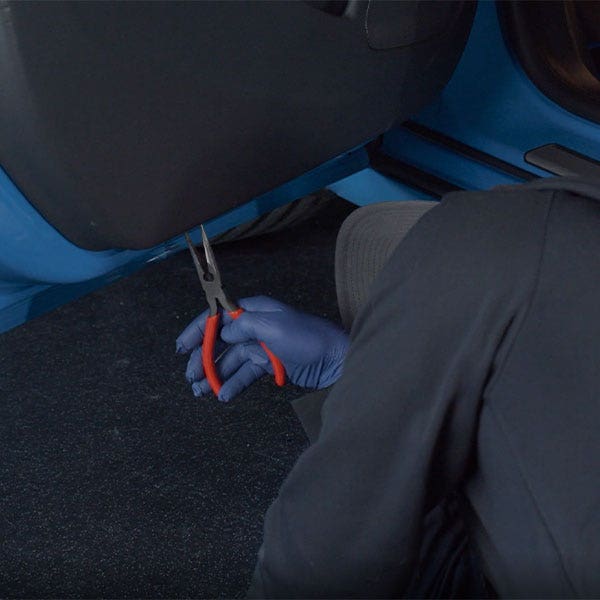
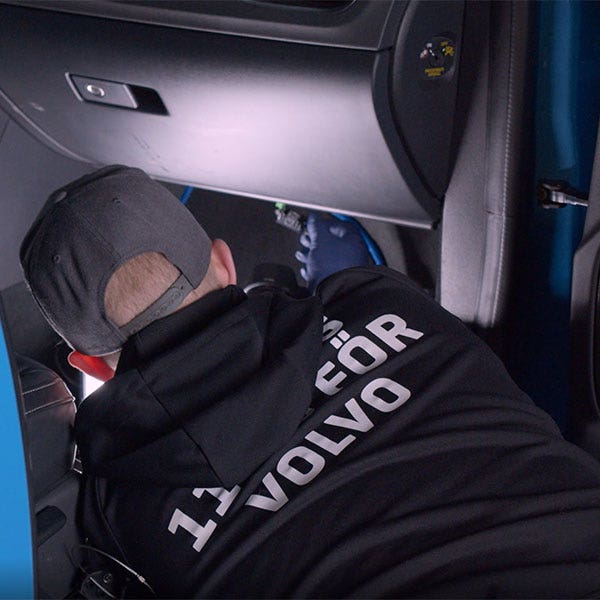
2. Under the front doors there is 1 lamp per side.
Same process there. Remove the glass, push in the lamp to access the connector to pull out the lamp and release the connector.
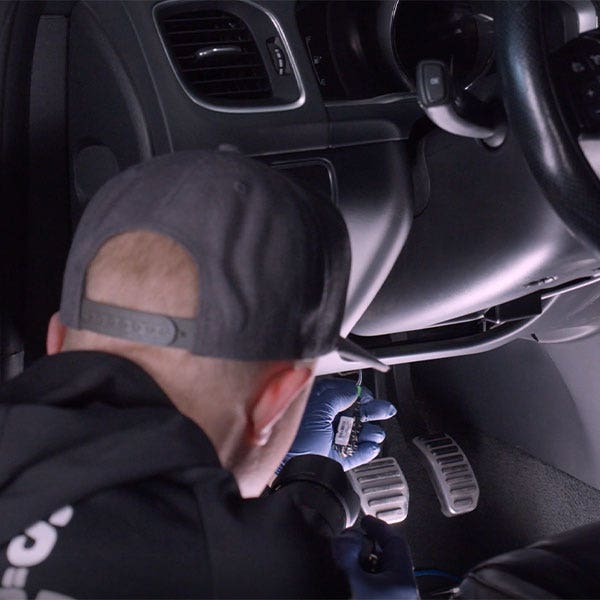
3. There is also 1 lamp per side for the front floor.
Do the same process on the driver's and passengers' side
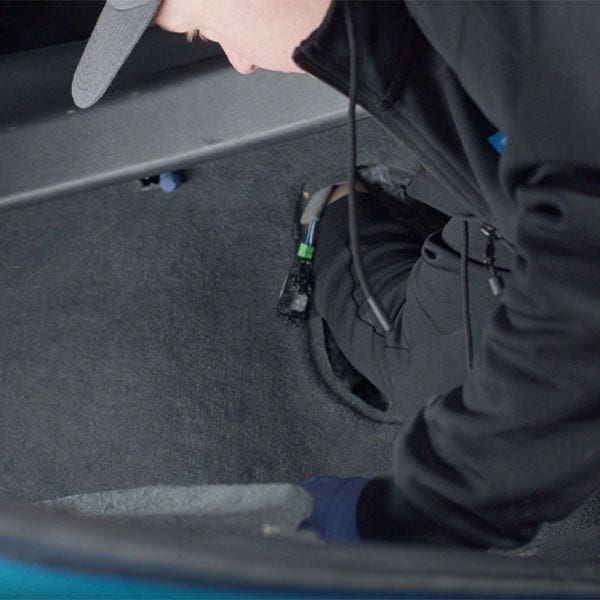
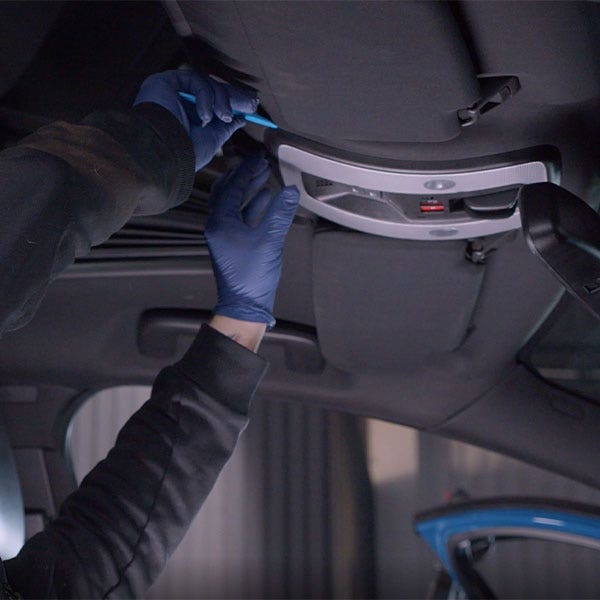
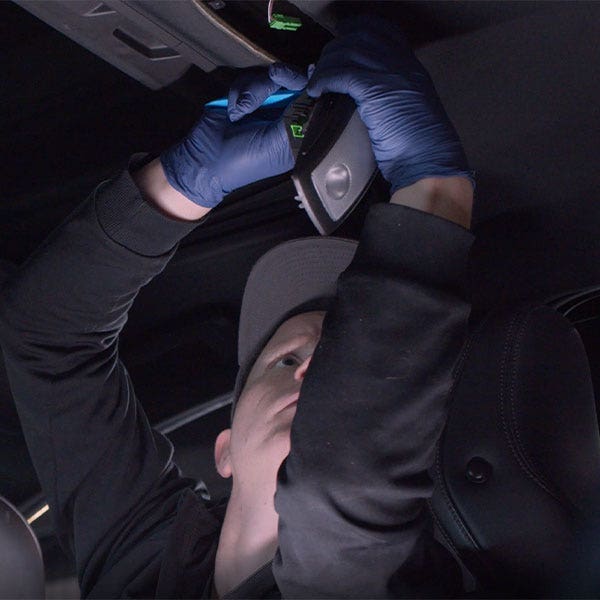
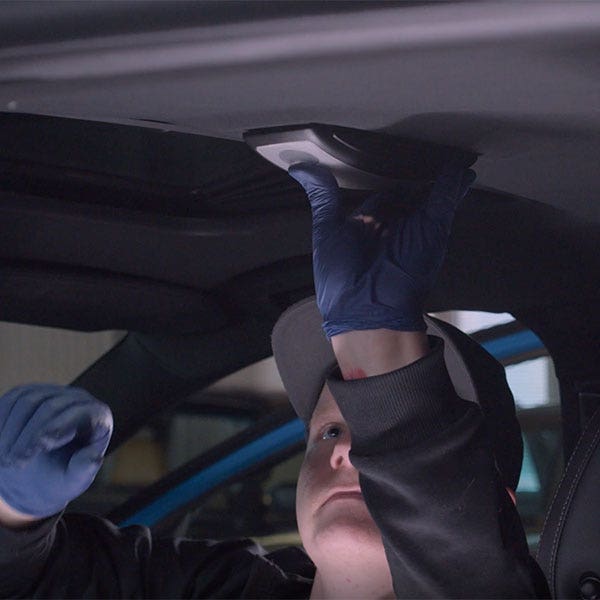
4. Then take down the front roof panel which contains 4 lamps
Wedge the demounting tool in the side of the panel and fold down the entire panel so that one comes loose, you pull the entire roof panel straight down. Be careful not to damage any connector. Then loosen the connector located in the panel.
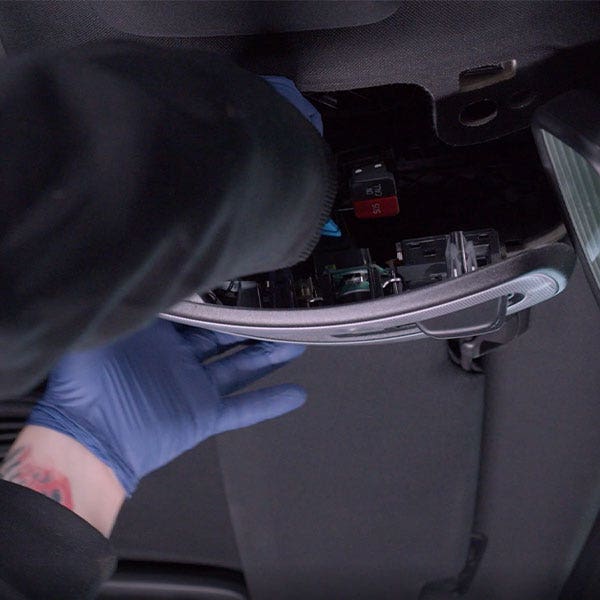
5. Remove the rear roof panel in the same way - pull it straight down.
Wedge in the demounting tool and pull straight down until the panel comes loose. Loosen the two connectors that are in. You must loosen the upper part to access the latch on the underside that holds one connector.

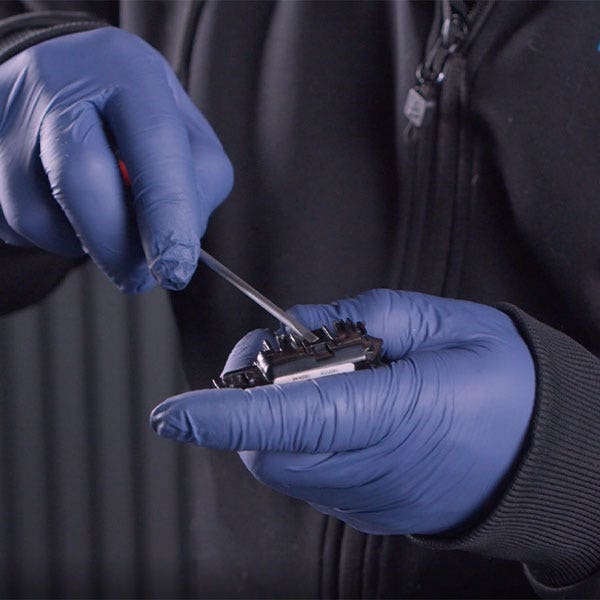
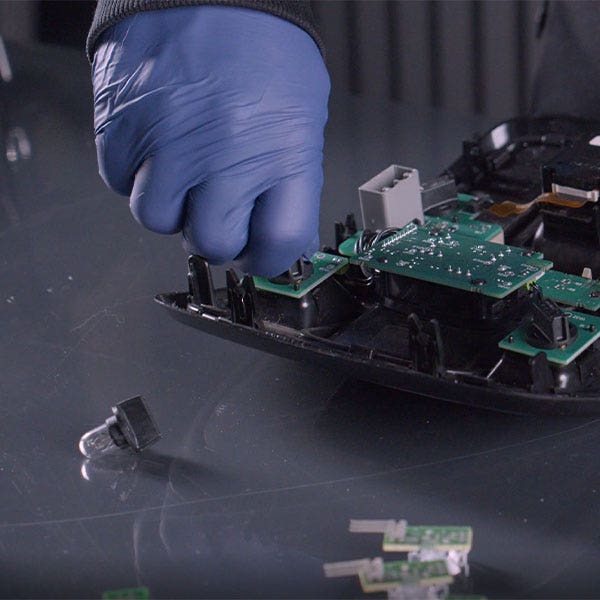
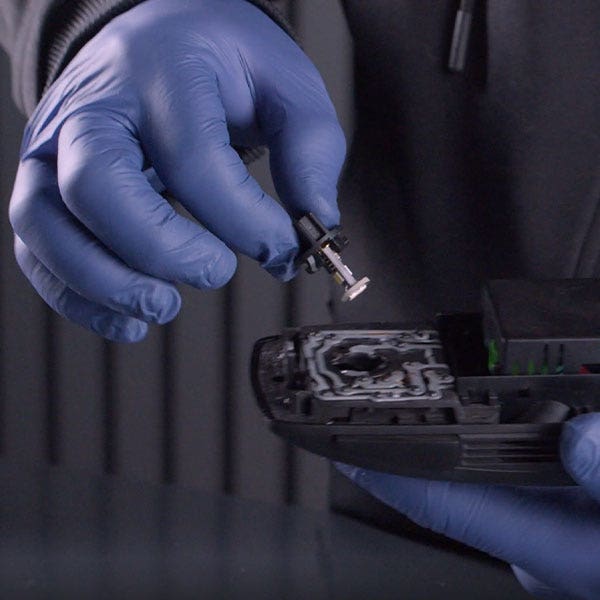
6. Replace lamps
To be able to change the LED plates from luggage, under doors and the floor, the lamp housings must be divided, this is most easily done with a small screwdriver.
There are 4 small locks on the lamp housings, two on each side that you must open to get the lamp housing up. Once you have got the lamp housing up, just take out the old lamp and put yours in the new one. Then close the lamp housing and do the same on the remaining lamps.
Then push the lenses back on all the lights.

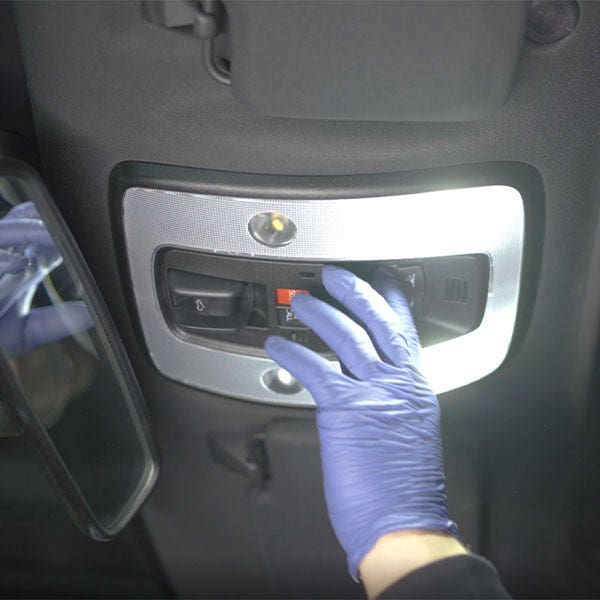
7. Replace the ceiling lights
Start by turning the old lamp out of the panel. Take a new lamp holder that comes with our kits and insert a new lamp into it, then turn it back into the panel. Repeat this on all lamp holders in the front and rear panels.
8. Replace the lights
Now just put the lights back in the luggage, under the front doors, the floor in front. To do this, replace the connector and push the lamp holders back into their holes until they "lock" against fabric or panels.
The front and rear panels are first reassembled connectors and then you match them into their holes for attachment and push straight up.
FÖRE
EFTER

 Sweden
 Norway
 Finland
 Denmark
 Austria
 Belgium
 Estonia
 France
 Germany
 Latvia
 Lithuania
 Luxembourg
 The Netherlands
 Poland
 Portugal
 Spain
Spain