


DO YOU WANT A NEW CAR FEELING ON YOUR VOLVO XC90?
BUY OUR HEADLIGHT LENSES!
It is possible to polish the lens, but often it gets burnt and ugly marks on the inside of the lenses and it is unfortunately not possible to get rid of them. Changing lenses takes a little more time but it is definitely worth it!
Tools and equipment you need for replacement: Dremel, Hearing protection, gloves, mouth guard and goggles, heat gun, pliers, cutters and scruwdriver, microfiber cloths, straps, vise and glue.
When removing the headlight lens, never touch the inside of the headlight, use compressed air to remove dirt!
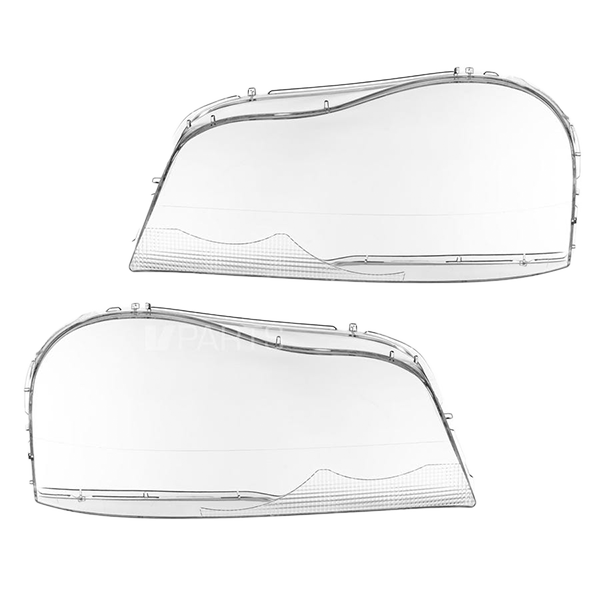
HEADLIGHT LENSES FOR VOLVO XC90 03-14, RIGHT AND LEFT
Headlight lenses for Volvo XC90 03-14, both sides. Fits cars with bi-xenon, cornering lights and halogen headlights.
Only available at Vparts.
HOW TO CHANGE HEADLIGHT LENSES FOR YOUR VOLVO XC90
Step 1
Remove the rubber strip, use a scruwdriver to loosen the clip the strip is in.
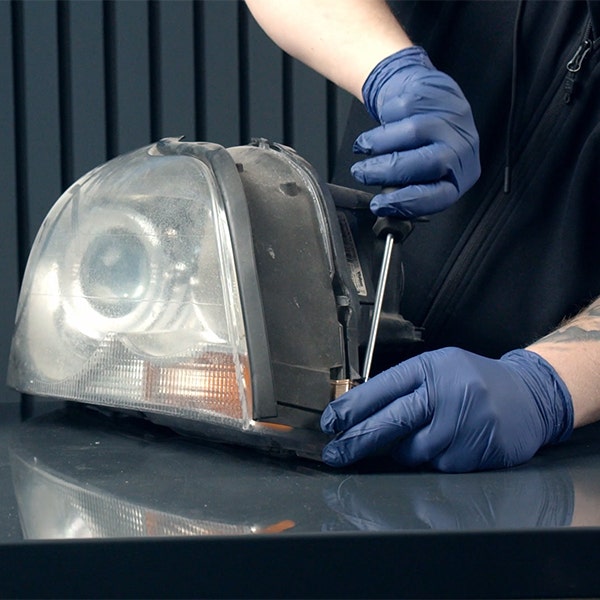
Step 2
Attach the headlight to a vise, use microfiber cloths to protect the headlight housing.
Step 3
Use e.g. Dremel to cut the old lens, you cut about 2cm from the edge around, be careful and check the inside so you do not damage anything in the headlight.

Step 4
NOTE! Do not touch the chrome in the headlight, it will easily become ugly marks that do not go away.
After cutting, the remaining plastic must be removed.
Start by cutting with e.g. a cutter to make the plastic crack all the way down into the groove.

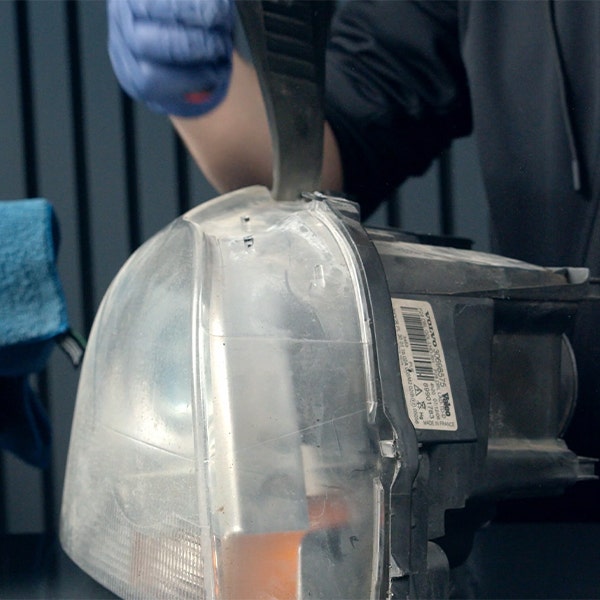
Step 5
When you have split the lens and got hold of the remains of the lens, heat gently around the headlight housing / notch where the glue is. Pull and remove the remnants of the lens around the entire headlight and heat in places before pulling the lens.
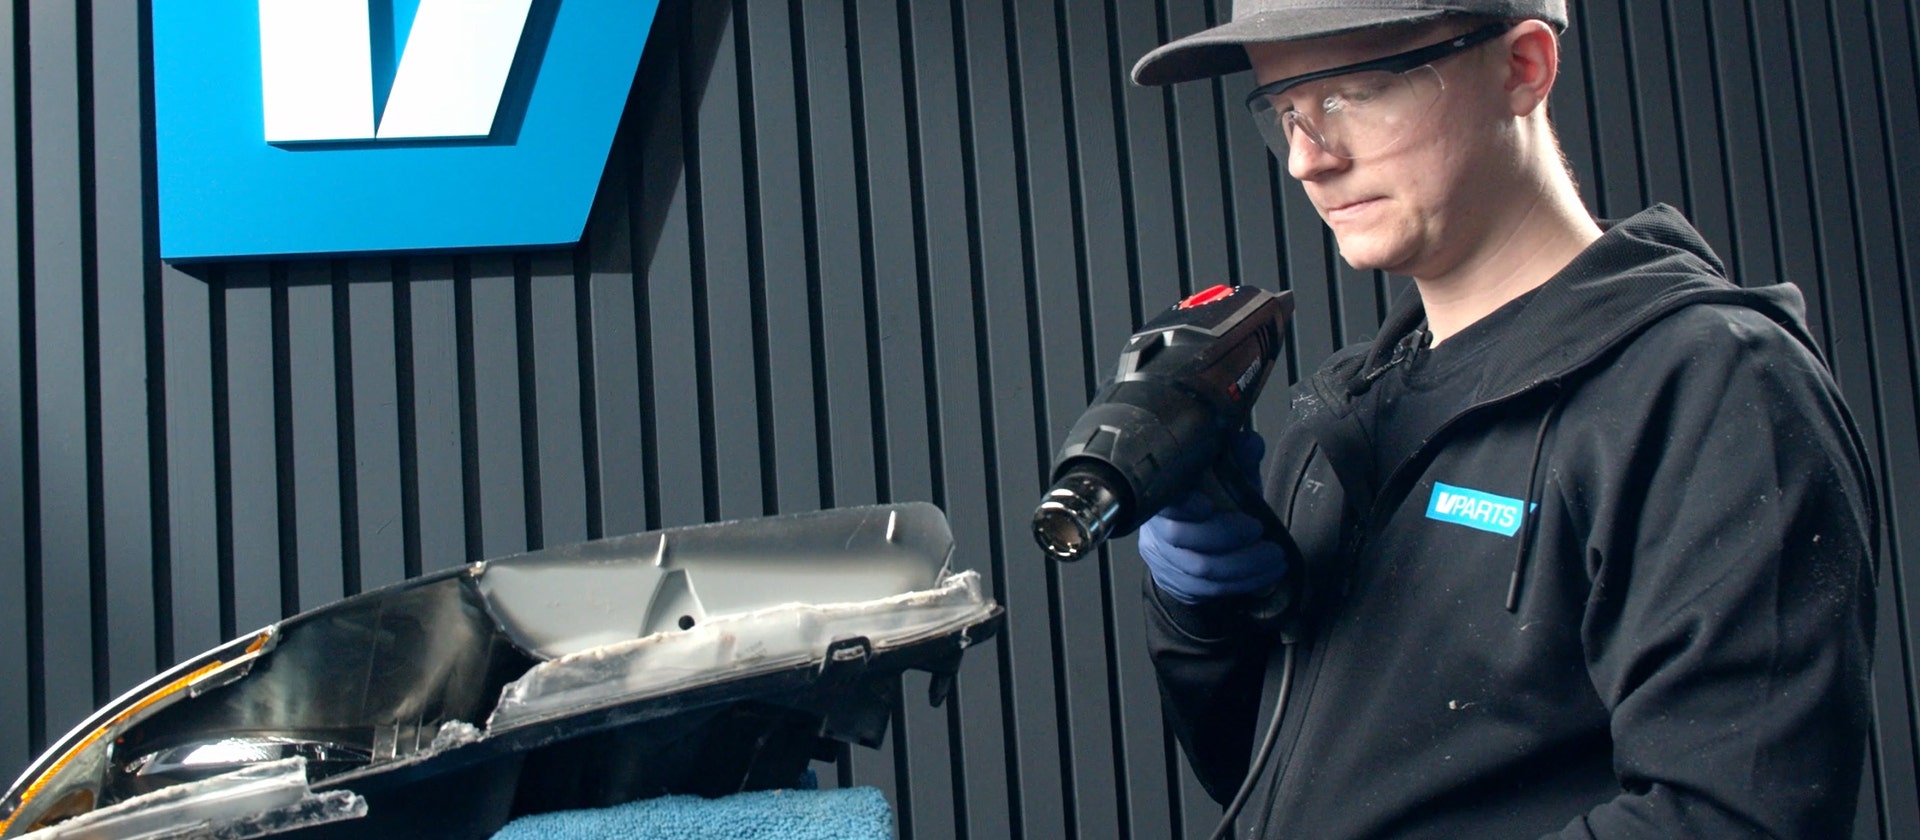
Step 6
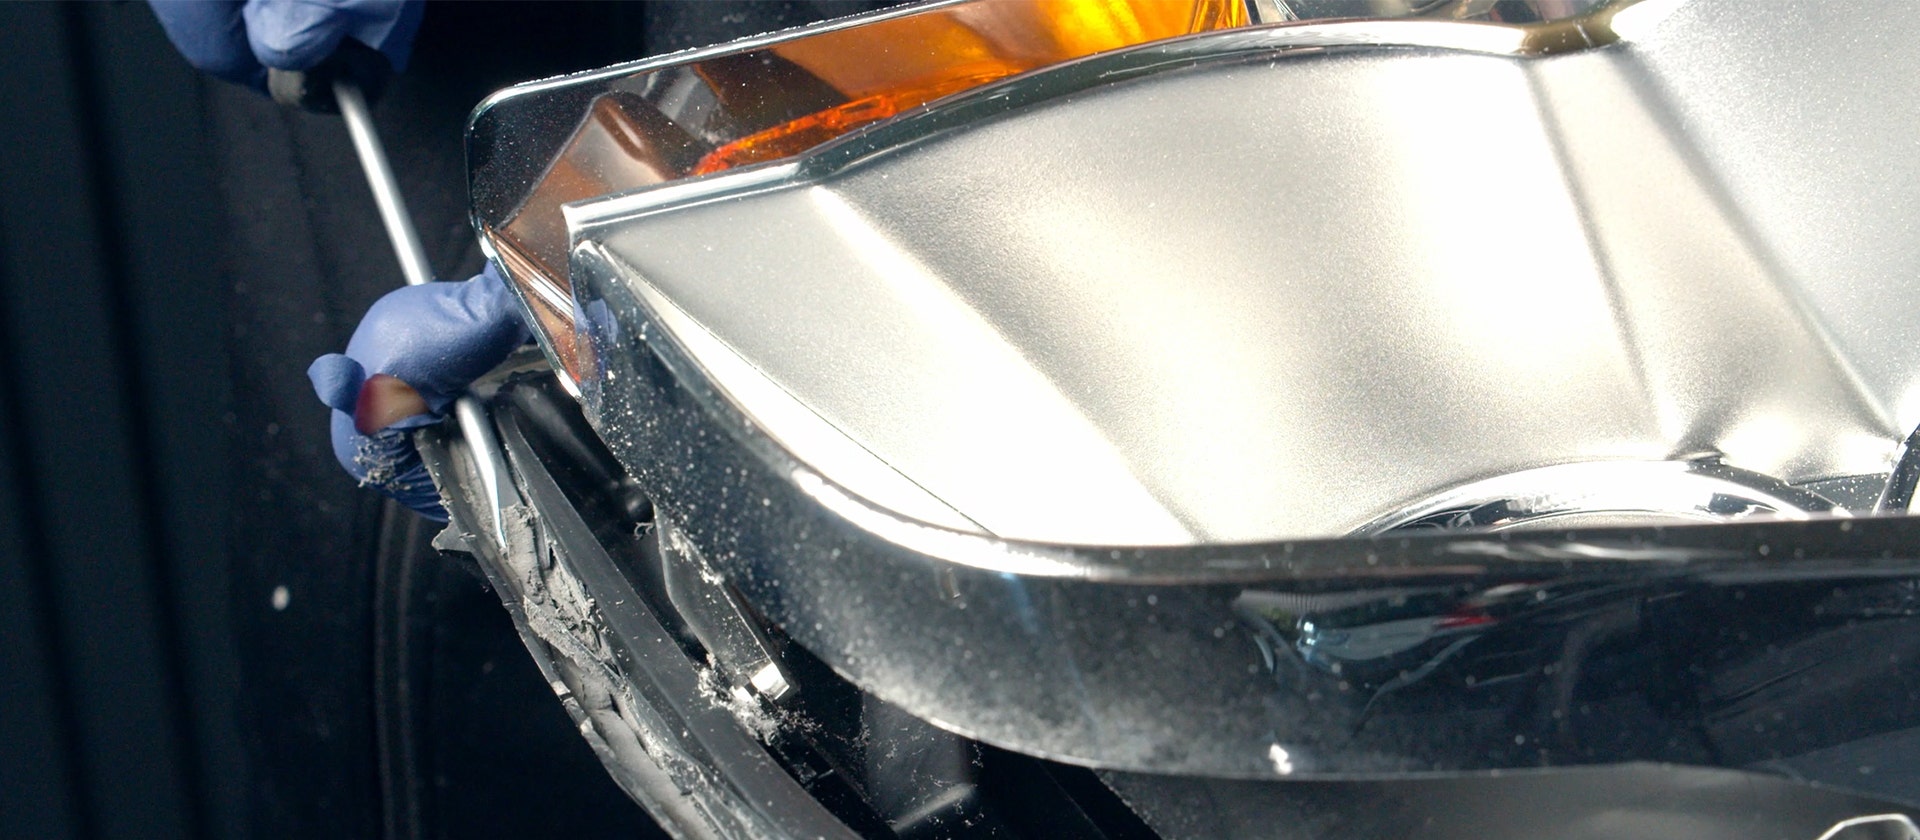
When the plastic is gone, it should be cleaned in the groove so that the new glue adheres.
Use e.g. a scruwdriver to remove the glue residue around the entire notch.
The cleaner the notch, the better the new adhesive adheres.
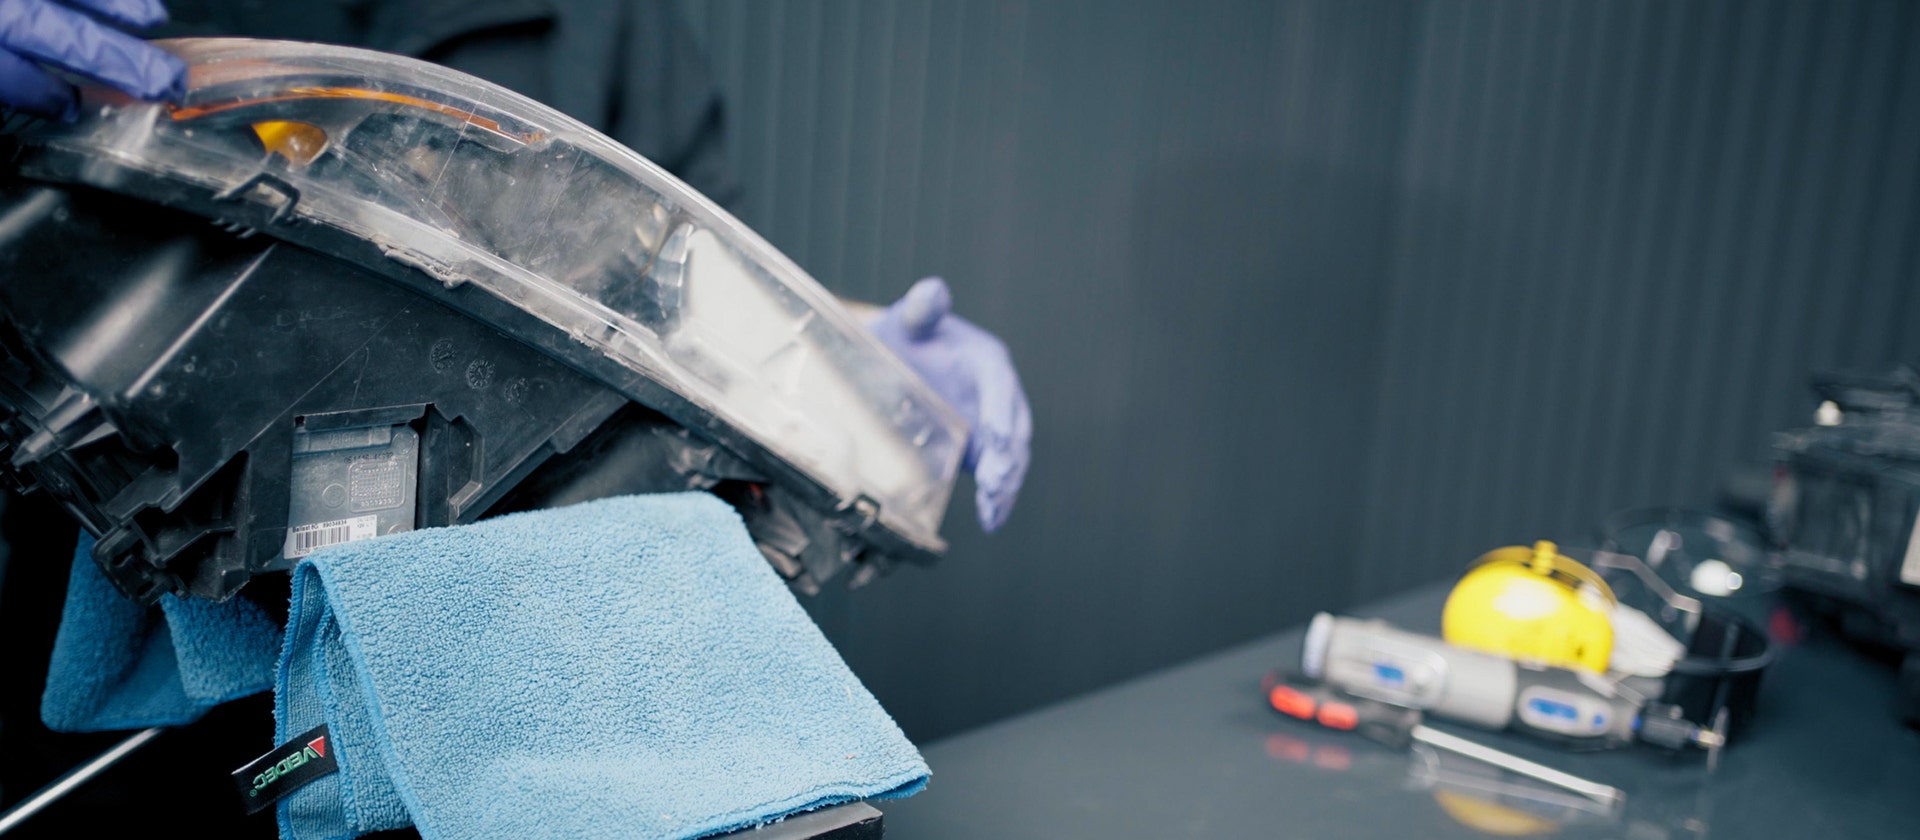
Step 7
Blow the headlight clean with compressed air. NOTE! Do not touch the chrome in the headlight, it can easily become ugly marks that can not be removed.

Step 8
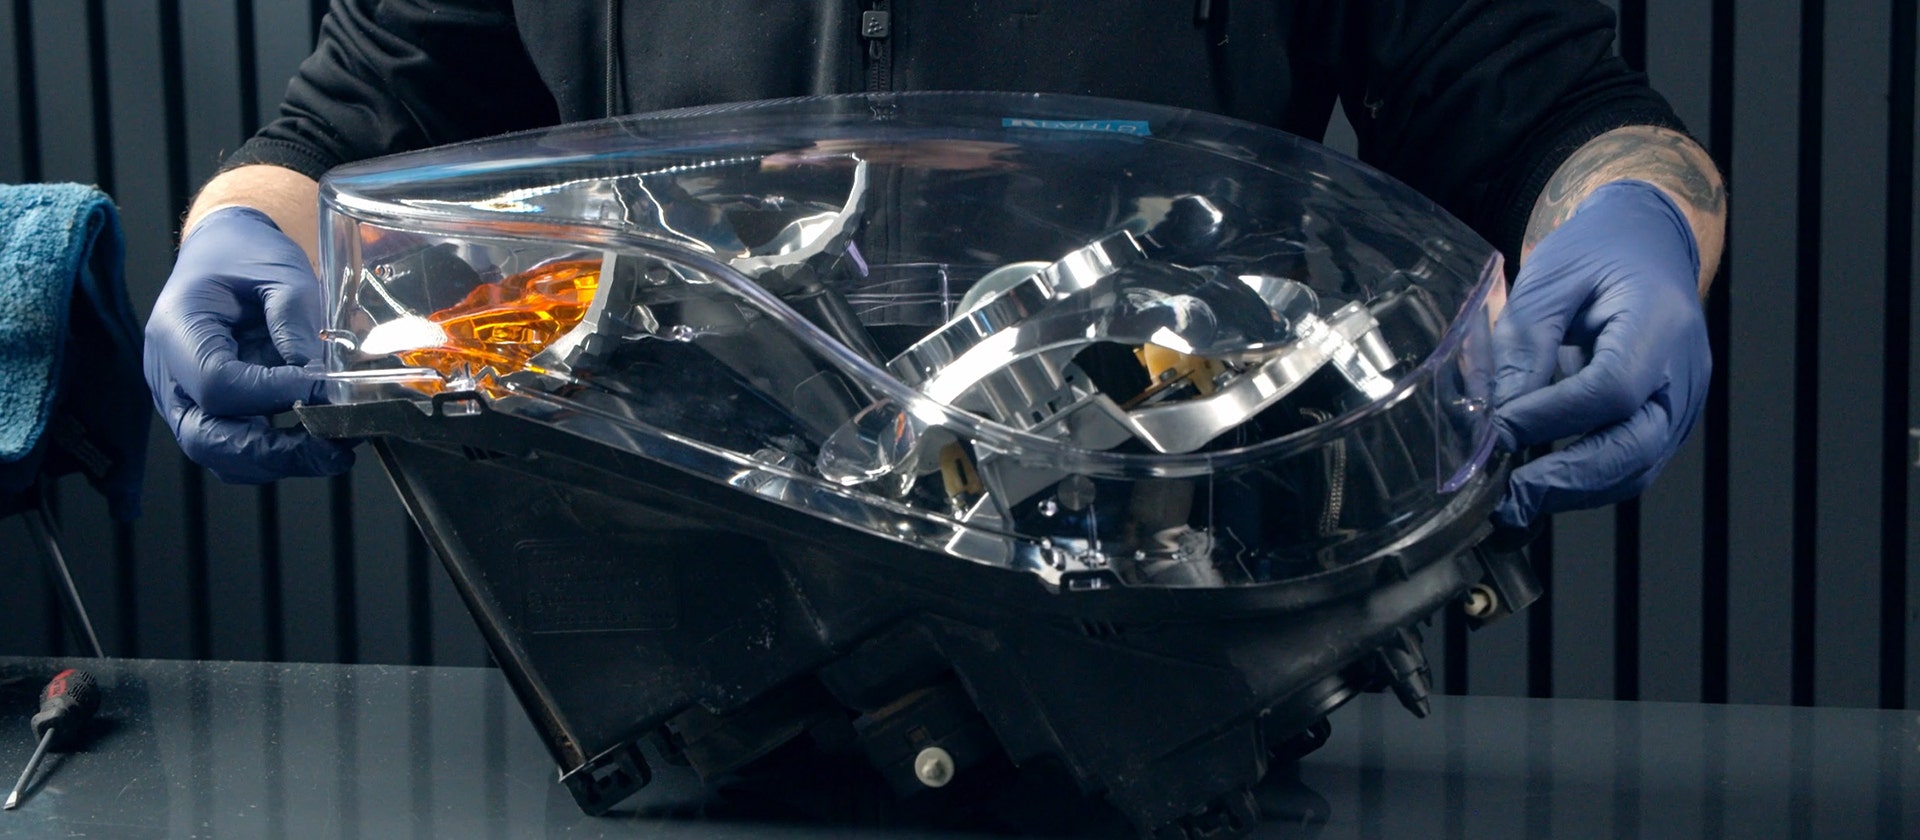
Pick up the new lens and put it in place to look so that the lens ends up in the right place. Clean further if necessary.
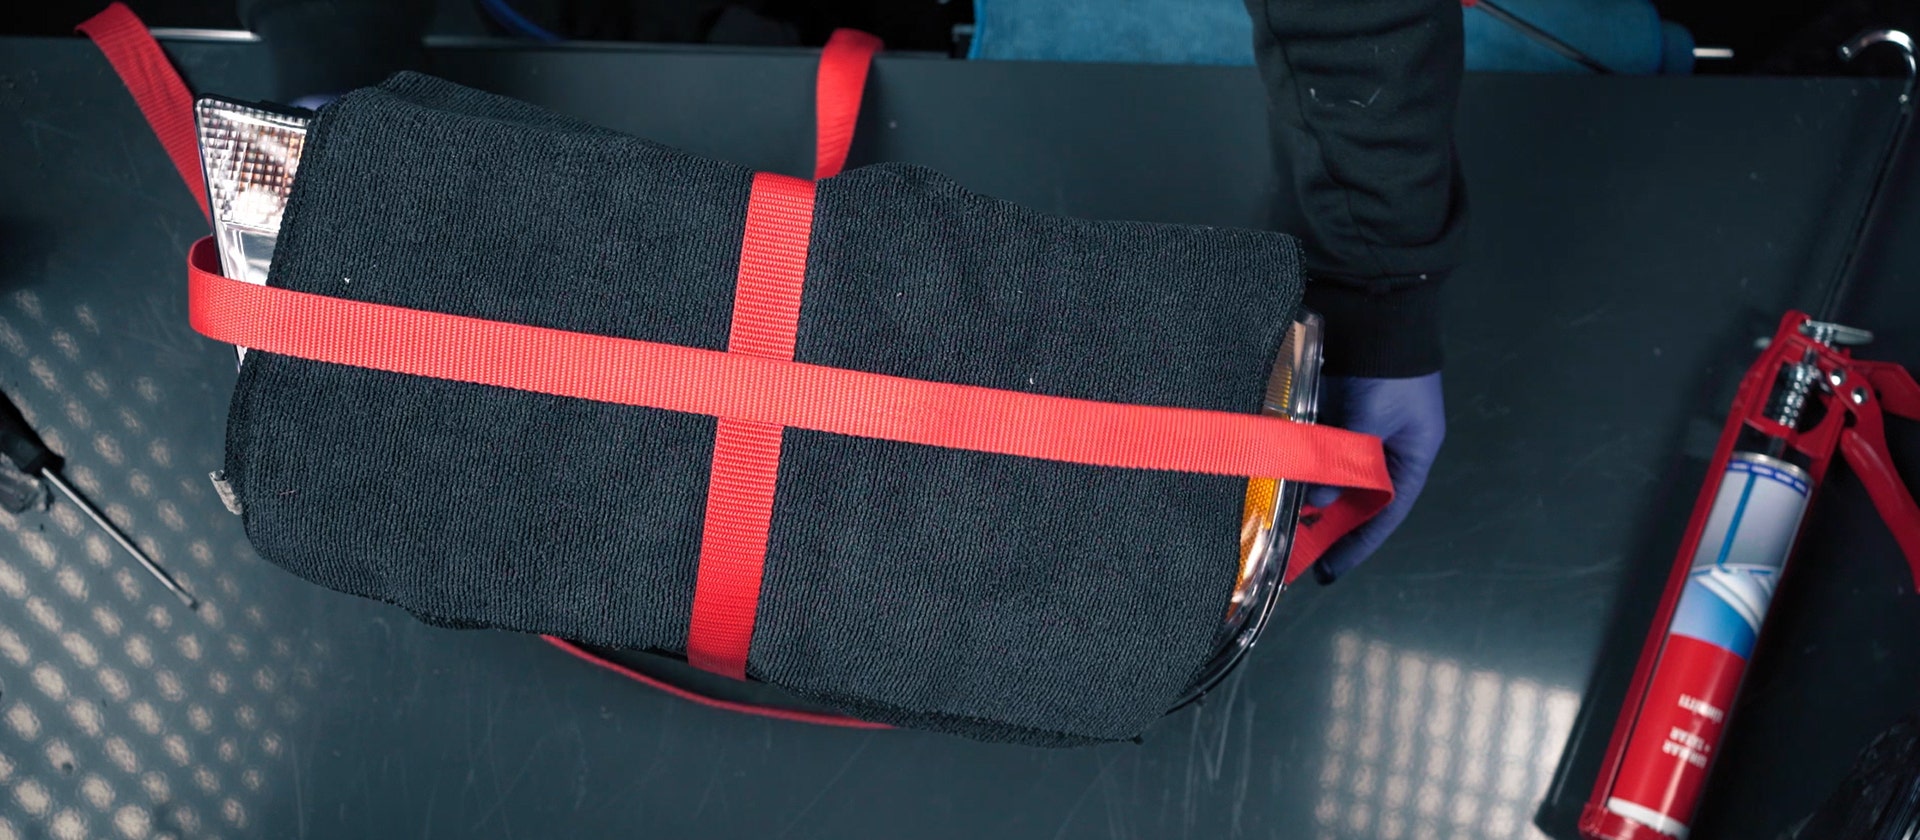
Step 10
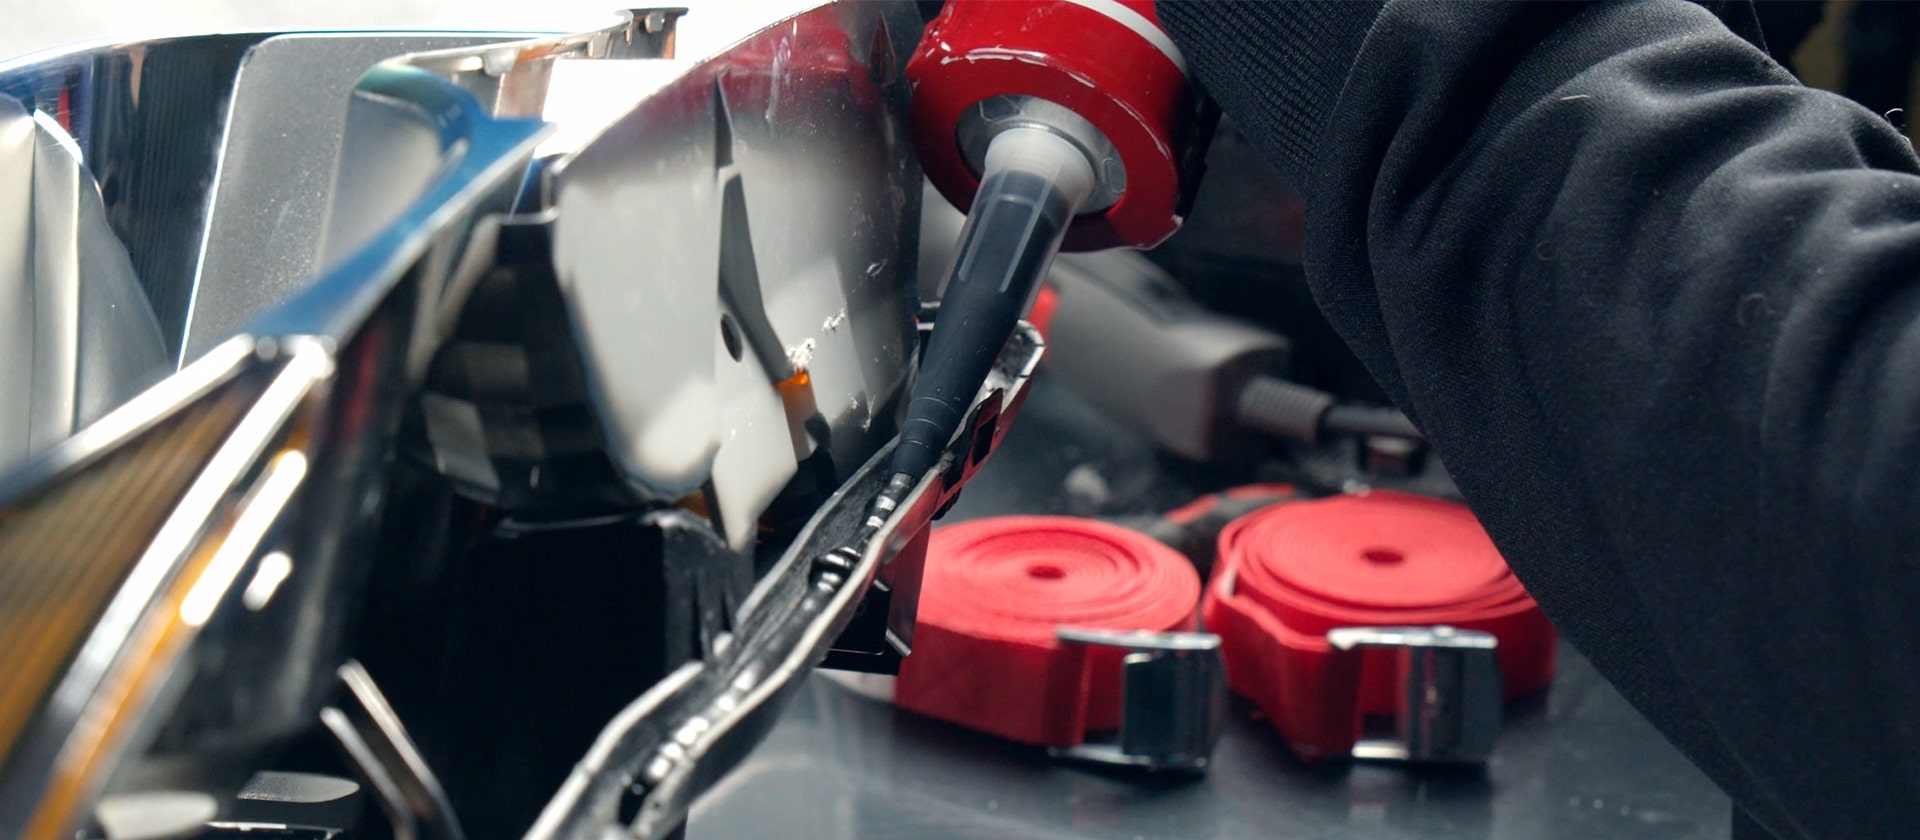
Place cloths over and under the headlight to protect the new lens, then tighten the headlight with straps while the glue hardens.
Let the glue harden depending on which glue you use.
Step 11
When the glue has dried, you can reassemble the rubber strip.

 Sweden
 Norway
 Finland
 Denmark
 Austria
 Belgium
 Estonia
 France
 Germany
 Latvia
 Lithuania
 Luxembourg
 The Netherlands
 Poland
 Portugal
 Spain
Spain