


DO YOU WANT BETTER LIGHT IN THE DARKNESS?
UPGRADE THE HIGH BEAM WITH OUR MODEL-ADAPTED LED CONVERSION KITS!
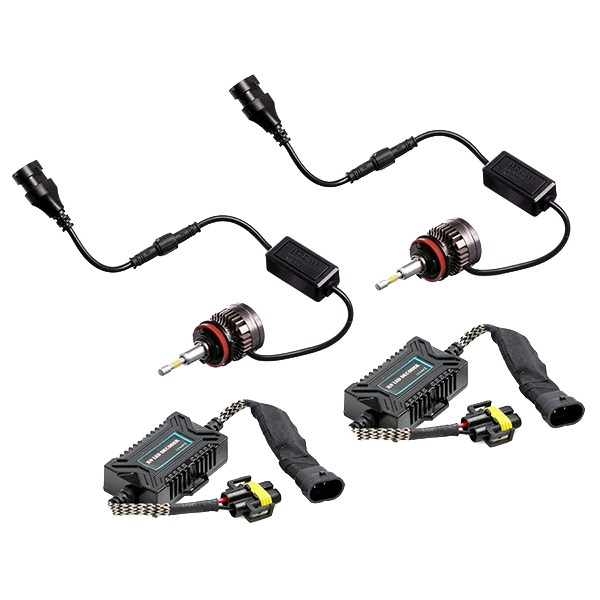
If you convert your headlights to LED, you achieve about 4000 lumens, which can be compared with halogen which gives about 1400 lumens, the LED lights shine like xenon but light directly to full power instead of the seconds it takes for xenon.
Our LED conversion kits contain everything you need to be able to do the upgrade yourself, separate resistors / error code extinguishers to avoid problems with the car's electronics.
HOW TO UPGRADE THE HIGH BEAM WITH LED CONVERSION
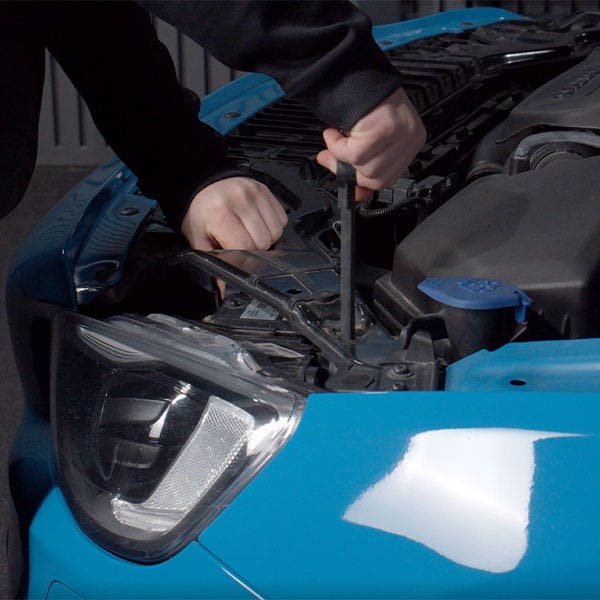
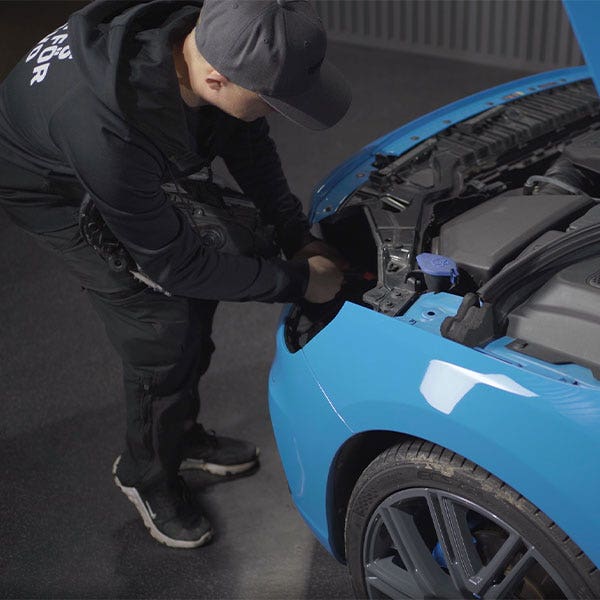
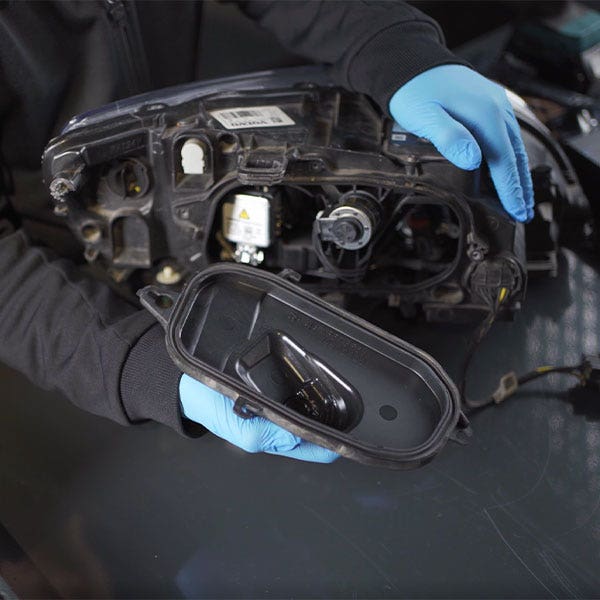
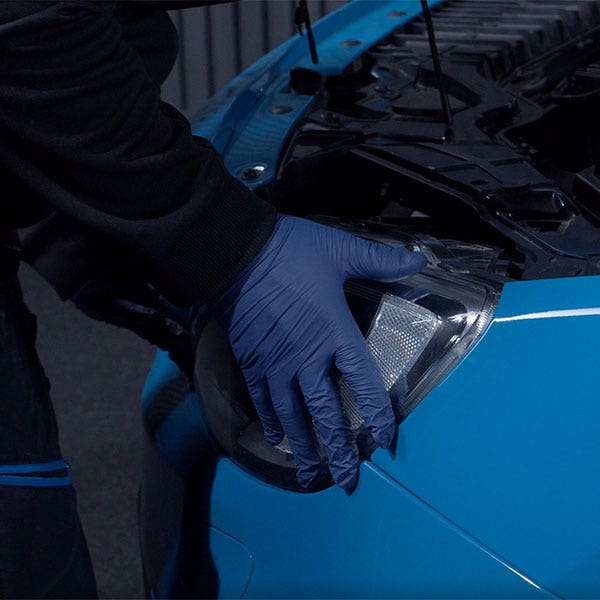
1. Release the headlights
Start by loosening the headlights, the headlights are in two latches on most newer Volvo models, which are only pulled straight up. After pulling up the latches, pull out the lamp a bit and disconnect the connector.
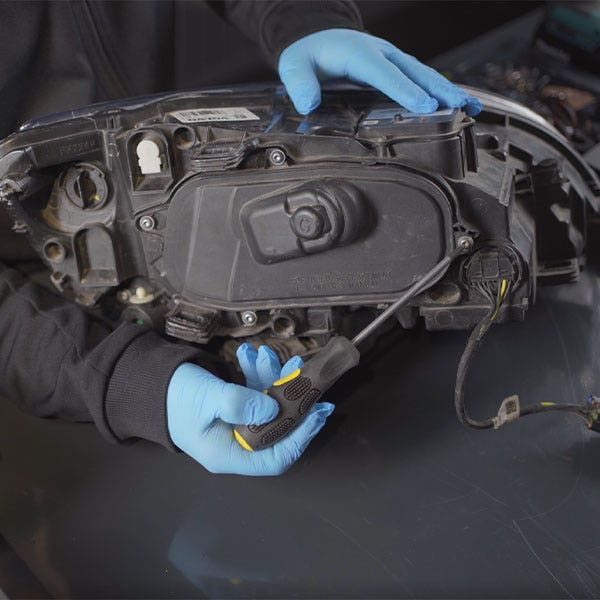
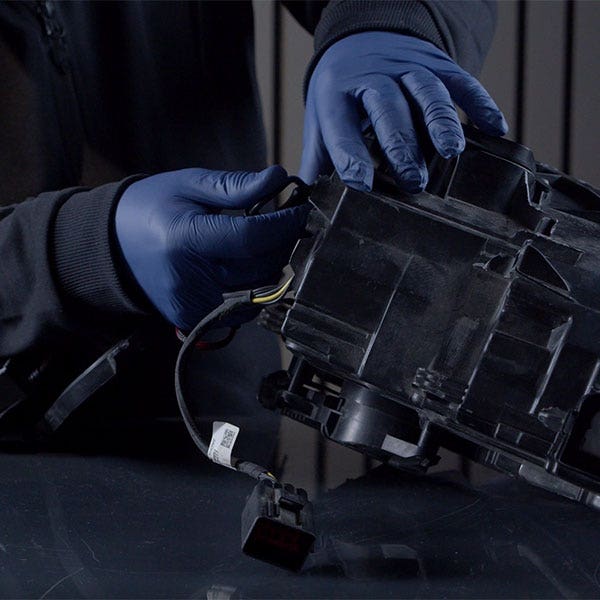
2. Loosen the cover
Loosen the cover located on the back of the headlight. The cover can be unscrewed with 4 pcs torx 20 or only with latches.
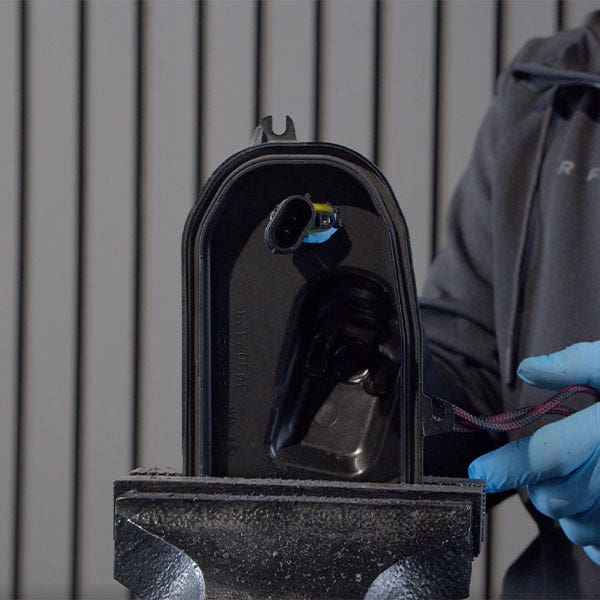
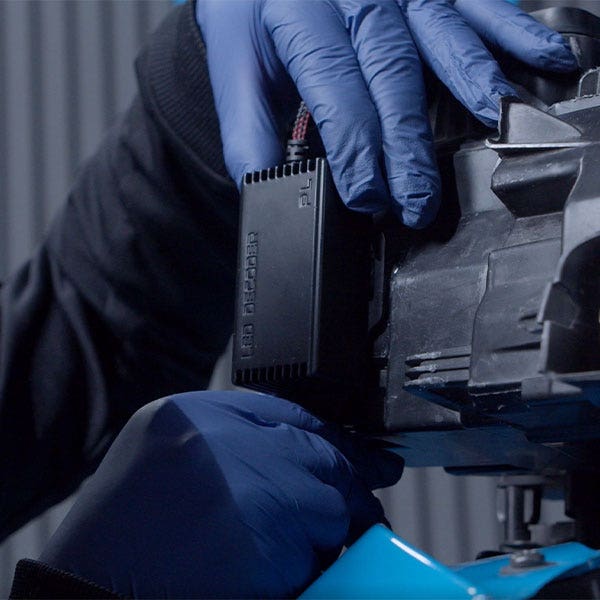
3. Remove the original light
When the cover is loose, remove the original headlight lamp and check whether the new LED lamp and the error code eliminator / resistor can fit in the lamp.
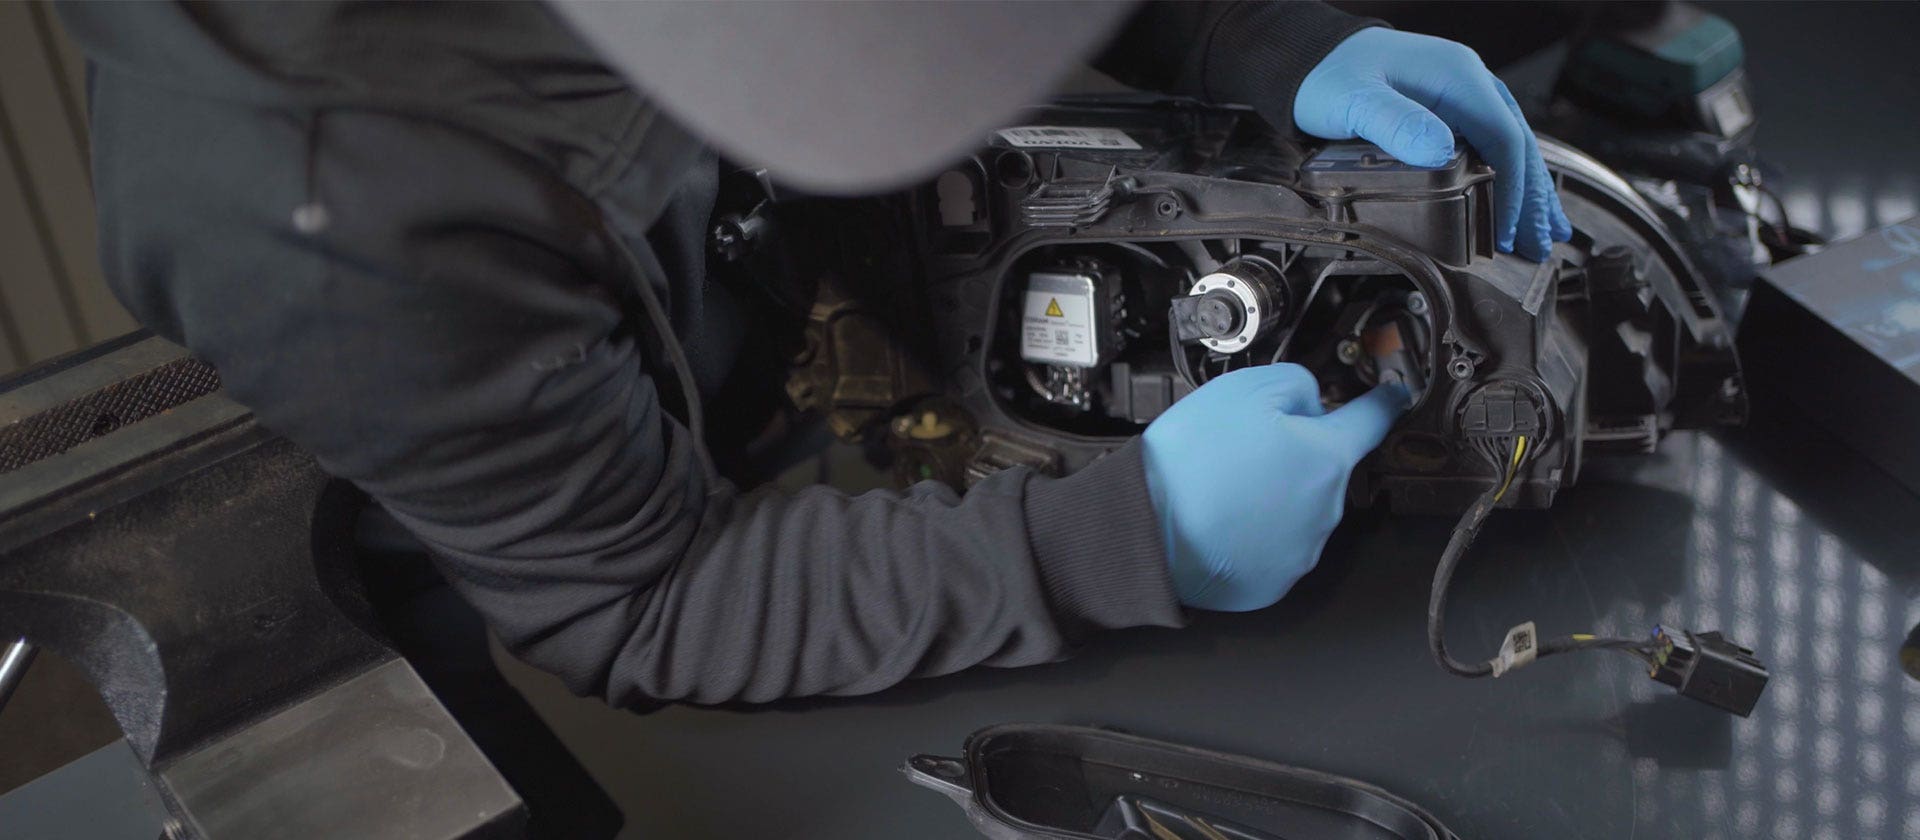
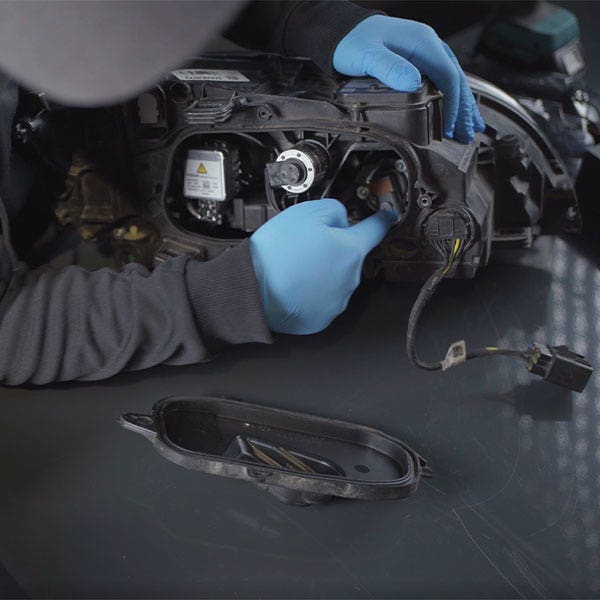
4. Check if the lamp and resistor can fit
If both the lamp and the resistor fit in the lamp, just reassemble the door and refit the lamp. Done - go to step 8!
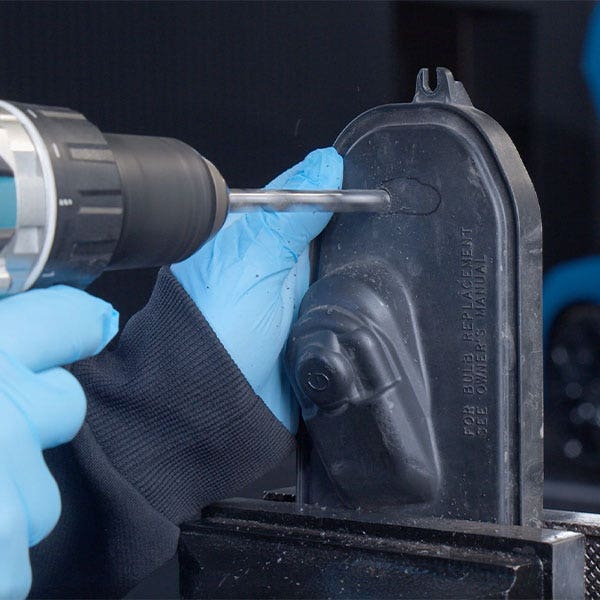
If it gets too tight and there is a risk that something will break if you have e.g. bend lightning:
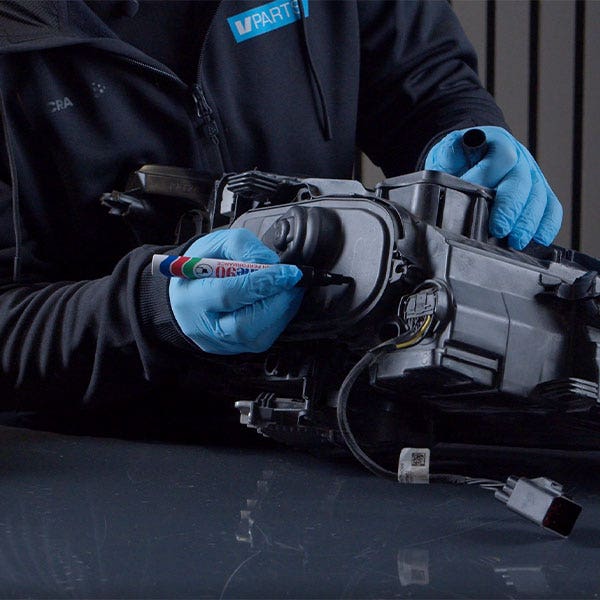
Check where you can make a hole for the bushing to the resistor and then make a mark and drill a hole.
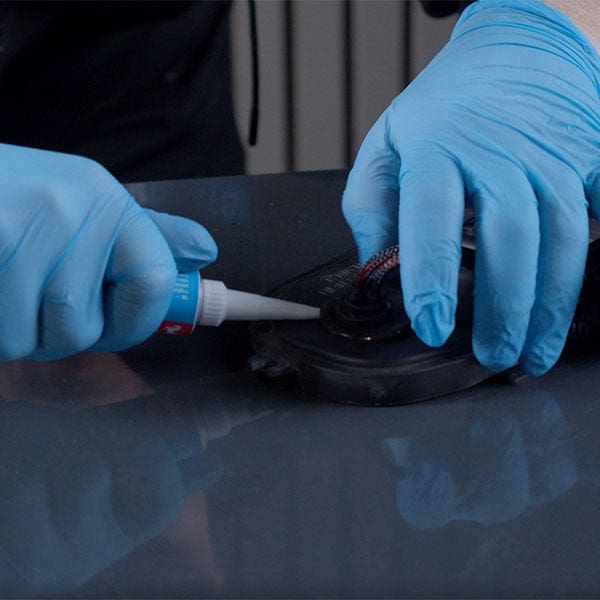
5. Insert the cables
Insert the cables into the hole and attach the cover for the bushing, tip is to put silicone around the cover on the bushing so that no moisture enters the lamp. Let the silicone dry before continuing the assembly to make sure that there are no gaps.
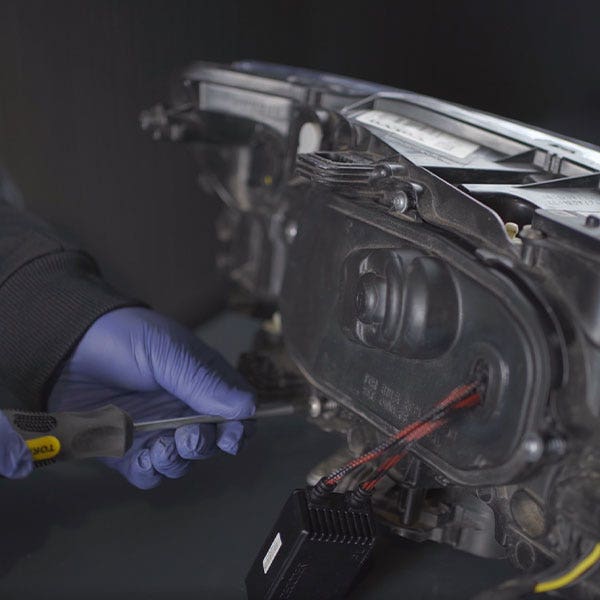
6. Find a suitable place for the resistor
Mount the resistor in a suitable place on the outside of the lamp with e.g. double-sided tape.
Keep in mind that it can be tight when you go back with the headlight on the car, so check that the location is okay before you mount the resistor.
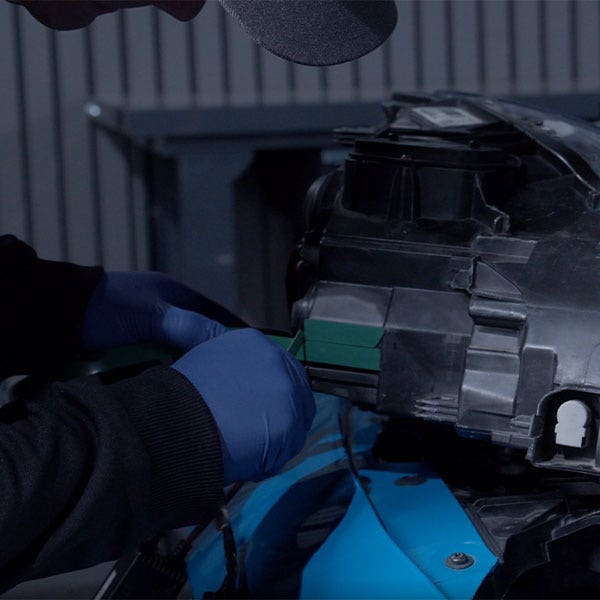
7. Screw back the cover
Insert the cables into the headlight and mount / screw back the headlight cover.
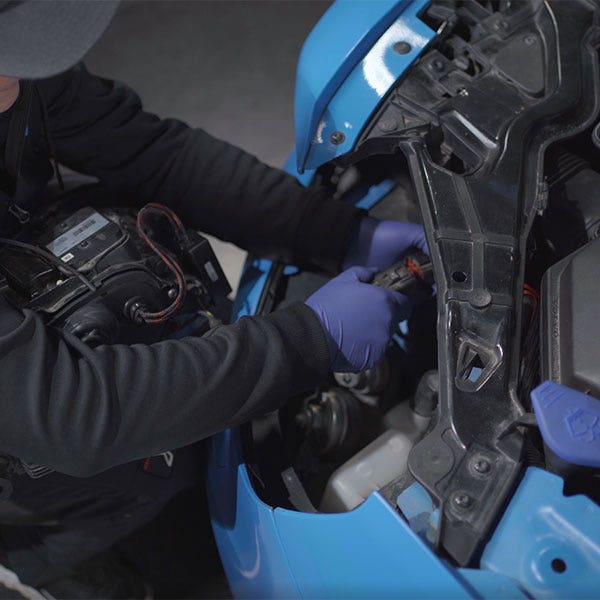
8. Reassemble the headlight
Time to put the headlight back on the car. Put back the connector, headlight, and latches.
Try to make it work. Good thing to keep in mind is that the joint is pole-sensitive, so if it is not lit, you may need to turn the contacts so the plus and minus end up in the right place.
 Sweden
 Norway
 Finland
 Denmark
 Austria
 Belgium
 Estonia
 France
 Germany
 Latvia
 Lithuania
 Luxembourg
 The Netherlands
 Poland
 Portugal
 Spain
Spain